So, when we last left our heroine, she was envisioning a comfy scarf for the boy with a robot on it.
Well, the project definitely went through some highs and lows– the original robot I had planned, even in simplified form, didn’t work right for the project. And I really am not that skillful at stuff like this, due to lack of practice and/or training. And a bunch of other lessons learned. But I soldiered on and honestly I think the result finally came out pretty cute.
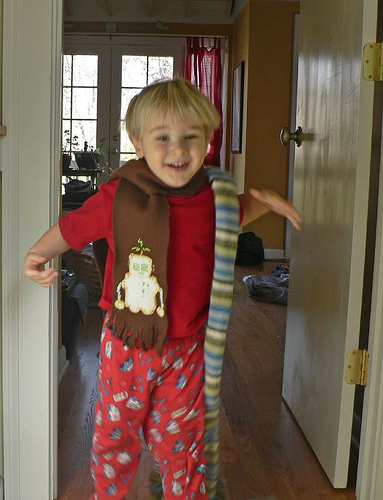
At least, The Boy was estatic about his “New Scarf with Robots!!!”
Edit- this has also been written up as an Instructable!
The Process:
Step 1:
I sketched around with various robot designs, and tested how hard they would be to cut out of the fleece felt i had on hand. Finally, I came up with this design and rough pattern I posted yesterday: Click here CLAUDE-BOT. (My husband calls him Volvo-tron because he’s boxy but good – my husband is odd)
[I was really happy with the design, unfortunately I’m a better artist than I am a seamstress, so feel free to use this little guy on this or anything else – just credit me and let me know what you did–I’d love to see it.]
Step 2:
I cut out the body and the hands out of my white felt.
Step 3:
Then, I stitched on the robot face and buttons on the body with embroidery thread. (I used a lime green, but lesson learned was it would probably work better in a darker, more contrasting color)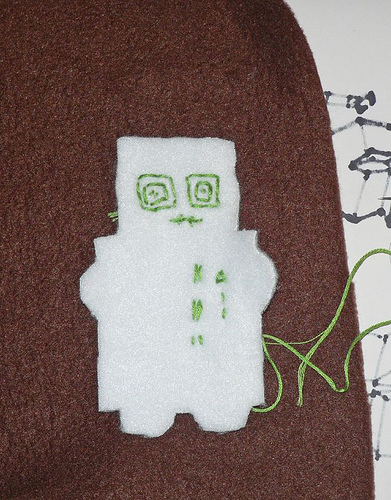
Step 4:
I cut the brown fleece into a scarf width, slightly larger than the robot pattern (I laid out the pieces on the fleece to decide placement), and slit the ends for fringe. Since this was a child’s scarf, I just used the width of the bolt as the scarf length (for an adult, you’d need to go longer).
Step 5:
Body: I sewed the robot body to the fleece using somewhat of a blanket stitch, with gold floss. I did a simple stitch across his neck line to define the head.
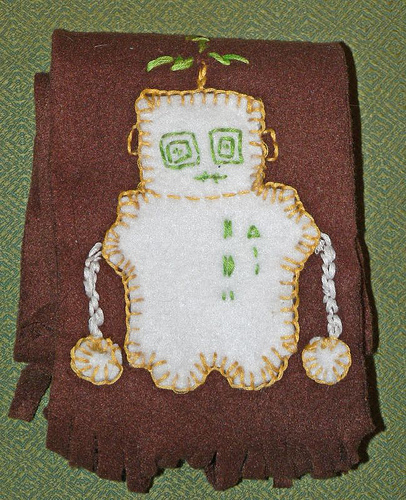
Step 6:
Arms: I used white floss to sew arms directly to the brown fleece. No fancy embroidery here, just made it up as I went along.
Step 7:
Hands: I placed the balls for the hands over the ends of the arms where I thought they looked good, and sewed them on using the gold floss, similarly to the body.
Step 8:
Final touches: Added “ears” and antenna with gold, and lightning bolts in green.
All in all, a fun, relatively quick project, with lots of learning opportunities. and that is the purpose of this blog, to just TRY IT!
Previous Related Posts:
The Idea
The Design, Pattern, and Lessons Learned